Labels

Showing posts with label Recipes. Show all posts

Sunday, August 19, 2012

Rutabaga Fries

We're bringing Rutabaga back.


Let me tell you why. You know how you call your loved ones names that out of context sound completely absurd? For intsance, I call my dog "Pigeon" alot. Not sure where it came from. His name is Cody - so it makes zero sense. Husband, Alan doesn't get it. And that's fine for me - but one night, when we were saying goodnight I said something like "Goodnight, Pumpkin" and without batting an eye he returns "Alright goodnight Rutabaga"

I know it's not as funny now but I literally laughed so hard I cried. It was so random and obviously he meant it to be. He thinks all nicknames are random. But it was so absurd I couldn't help but love it. Rutabaga. I never even tried one of those - I certainly couldn't pick it out of a fruit and veggie line up, and neither could Alan.

Well for a while Alan regularly called me rutabaga. It's my favorite nickname I've ever had because it's just so ridiculous. After a few weeks of it though, we realized, neither of us have ever had Rutabaga, or new what it was. So we tried it - with much apprehension. Alan cut it up into smaller cubes, cooked them through and then mashed them like potatoes.

It was awesome. A really good replacement for potatoes since they're slightly healthier. Well now we're hooked. We got 3 more rutabaga waiting to be experimented on: But here are some Rutabaga fries!

What you'll need:
1 Rutabaga
2 TBS of olive oil
1 tbs on cornstarch
1tsp of parsley
1tsp of garlic powder
1 tsp of onion powder
(this is one of those flexible dishes, you can use any spice profile you want)

1.  Rinse rutabaga and use a vegetable peeler to remove waxy skin. It's much easier than I suspected it would be.

2. Rinse rutabaga again and cut it into quarters, then continue to cut the sections into smaller strips, whatever size you'd like the fries to be.

3. Put strips into a bowl and coat with olive oil then coat with cornstarch and your other spices. The cornstarch helps to stiffen fries, since we're baking them.


4. Bake fries for 15 minutes at 425 degrees. Stir about half way through cooking time to fully crisp both sides. Enjoy!


Sunday, August 5, 2012

Snowman Cupacke Decoration Tutorial


I made these for Alan's brother's Christmas in July party. They were super easy to make, although a tad time consuming.


I know, it looks like it's impending doom is coming in the form of a knife...but we ate him instead. 


So here's the deal: I am a terrible cake decorator. I have an Aunt who can make cakes look too good too eat. I do not have this gene. I've tried. I think you need a steady hand and an artistic eye - of which I have neither.

So I've come to terms that I'm better at decorating with prefixed items. I've made that kit kat-m&m cake. I've decorated with hershey bars and graham cracker dust for S'more's cupcakes. I need things that are already composed and just need placement.

These cupcakes require:

  • White Icing
  • Granulated Sugar
  • Chocolate Wafers
  • Chocolate Chips
  • Mini Chocolate Chips
  • Orange Slices (My favorite!)
First ice any cupcake with the white icing. Pour sugar in a shallow dish and immediately dip the top lightly into sugar to get a crystallized look. 

Place 2 chocolate chips for eyes and 6-8 for the mouth or smile. Cut up orange slices to make smaller triangles and use this for the nose.

The hardest part is the hat. For this we used a serrated knife to cut the wafers in four sections like this:

Use the wide parts as the top hat, and narrow strips for the brim. The top hat is my favorite part.


Tuesday, July 17, 2012

Cottage Cheese Ranch

Let me start off with saying: I detest cottage cheese. The texture creeps me out and I do not like the taste. But I do love ranch, and we need to add more vegetables to our diet. So I saw this ranch recipe that substitutes cottage cheese for the heavy mayo and buttermilk that ranch usually requires.

Well the husband loves cottage cheese, so I figured I'd give this a shot. The recipe called for only 3 ingredients, but one of those ingredients is a Hidden Valley Ranch dressing seasoning packet. I knew there were ways to make those seasonings with what I had in the cupboard, so here is what I ended up doing:

I mixed together in a Ziploc bag:

  • 2TBS Parsley Flakes
  • 1tsp Basil
  • 1tsp Onion Powder
  • 1tsp Garlic Powder
I shook the bag to get the spices mixed thoroughly and put to the side. I used a mason jar, but this is simple enough to really just start in whatever container you'll be storing your ranch in. It'll save you a dish to wash.

In the mason jar I added:
  • 1 Cup Cottage Cheese
  • 1/4 Cup Skim Milk
  • 1 TBS Ranch Spice Mixture


The recipe calls for this to be blended in a blender for 3 minutes. In an ideal world, I would own one of those. But since I don't, I just whisked away for about 10 minutes. I didn't really get rid of that curd texture I hate so much, but the taste is pretty good. I'm sure it would be amazing if we did have access to a blender. Hopefully this will encourage more veggie consumption for us. Atleast for this week.


Monday, July 16, 2012

French Toast Casserole

Need to feed a large group of people? This may be the ticket. A group of us from the office volunteered to cook and serve brunch at a local food bank in Chester. Chester, PA has been hit pretty hard during the recession. Two of the areas biggest employers (both oil refineries) have closed down in the last couple of years so many people have recently lost their jobs. The Bernadine Center has been providing services to this community for years. The sisters there have become so connected to those they serve that it felt like a brunch with family or friends.


So we made a couple different casseroles. A co-worker and mine were charged with this French Toast Bake Recipe. I made a few variations to get it closer to the amazing french toast my husband makes on special Sundays. (Keep in mind that I doubled this recipe for our purposes, so the pictures are double the quantity)

First for this casserole, cut one loaf of french bread in one inch cubes and throw them in a 9 x 13 casserole dish:


After that, cube one 8-once package of cream cheese and add to casserole dish. In hind-sight, I'd recommend cubing it smaller than I did, and mixing the bread and cream cheese cubes together.


Next is the only real work that this recipe requires: cracking a dozen eggs! Crack a dozen eggs into a bowl and add 3/4 cup of syrup, 1 + 1/2 teaspoon ground cinnamon and 1 hefty teaspoon of vanilla extract and mix together (when I say hefty teaspoon of vanilla, I just mean, if some spills over the spoon while pouring, it wouldn't be a terrible thing).
Remember! I had to double the recipe. It's intimidating isn't it!?
Finally pour your egg and syrup mixture over your cubed bread and cream cheese and let chill in the fridge over night.
Thanks Alan!!
When  you wake up in the morning, just pop it in the oven at 375 degrees for about 45 minute. The egg-syrup mixture should be about soaked in and no longer liquid and the top should look lightly browned.

Classy pan, eh? 
A couple things about this recipe: It's really super easy. I mean the prep is done the night before and even that prep is pretty simple. Also, it's extremely filling and can feed a large group. Serve with fruit, whipped topping, or the standard: maple syrup.


Thursday, July 12, 2012

Drunken Watermelon - Mojito Style


This 4th of July my sister and I planned a picnic at a local park. We brought food and some adult beverages. I started seeing a trend on Pinterest that combined watermelon & adult beverages and knew it was a must try. Unfortunately, the only thing I could find was this tequila soaked watermelon recipe. I feel like everyone I know has a tequila story, and they never end with "and they lived happily ever after." Nope. Tequila stories usually end with "and then ...it's kind of a blur" and terrible pictures like this:
For the record, this was years ago. But still, I'm trying to do the running man in a sports bar: not my best side.

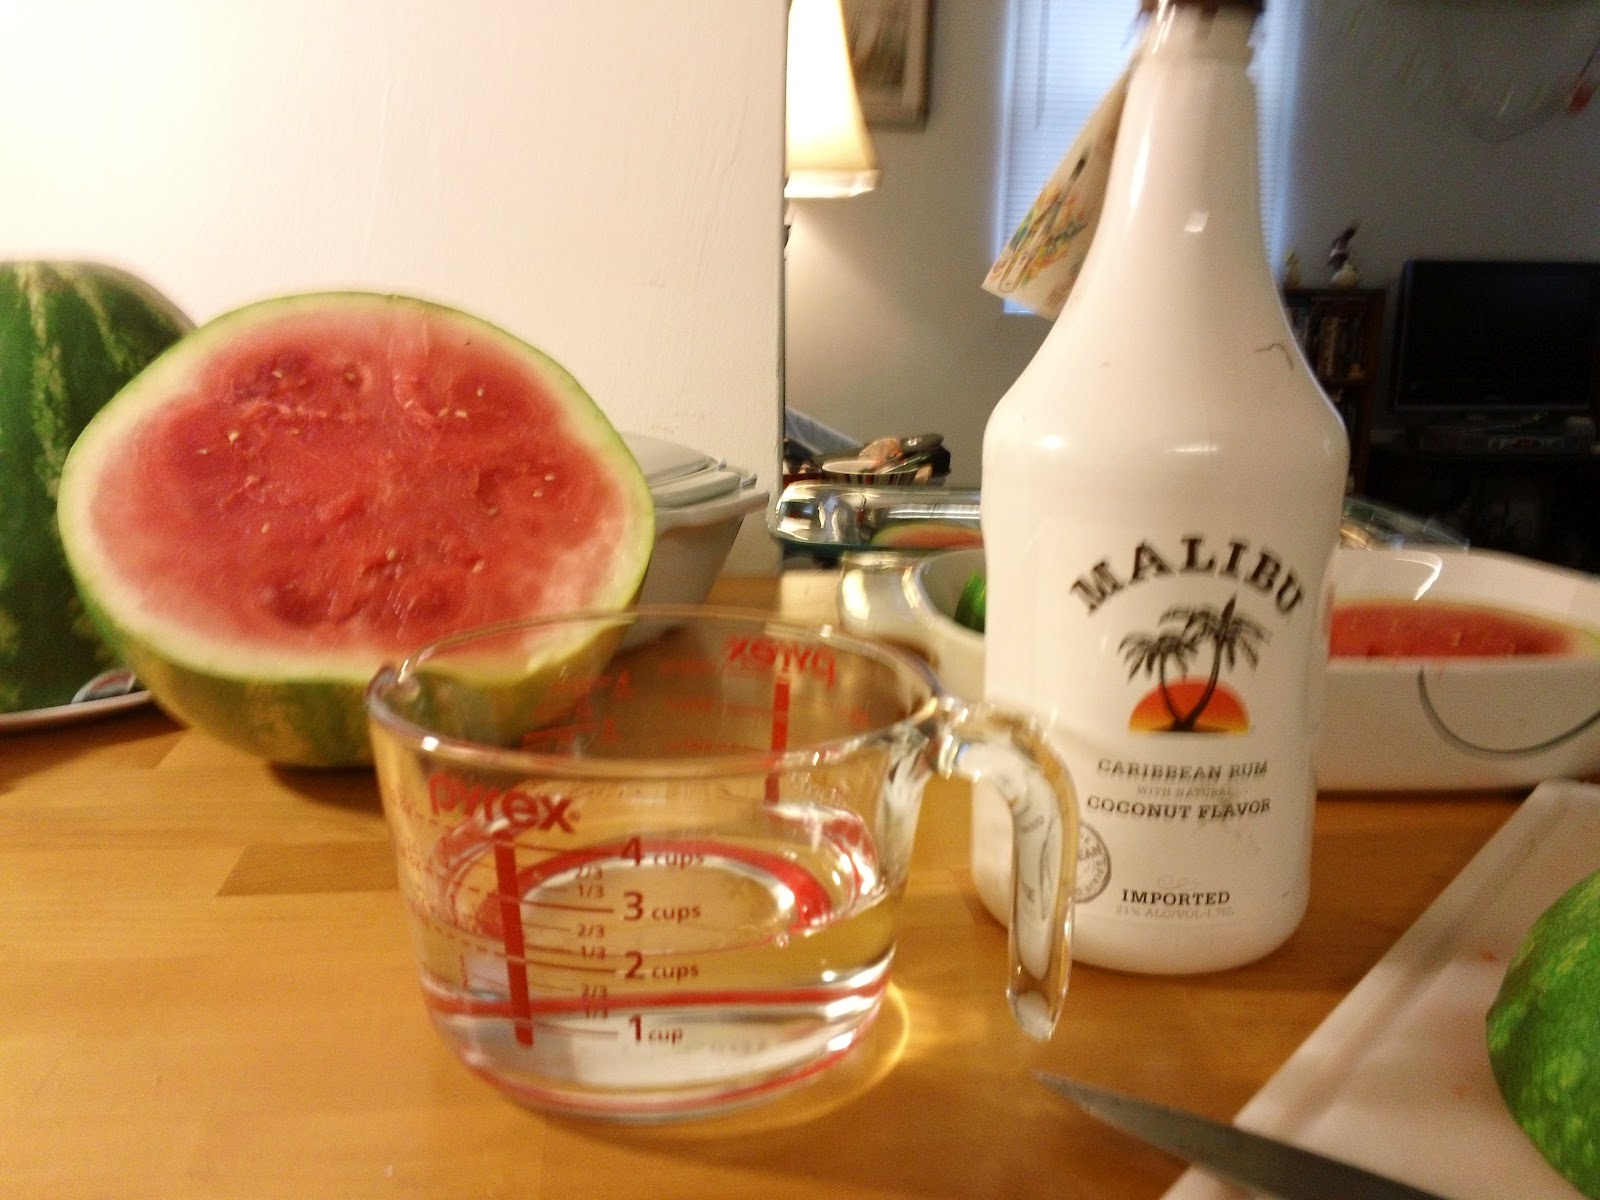
So being that most of my family has sworn off the stuff (myself included), I had to think up an alternative. I had some general alcohol's already, including the 20-something-female staple : Malibu Coconut Rum. I decided to pair that with the Watermelon since I've had pretty fantastic Watermelon Mojito's in the past. (If you're in my area, try it at Cubra Libre in Atlantic City.)

The original recipe calls for a making of simple syrup and then adding a the components of a margarita. For this, I made a simple syrup by boiling 3/4 cup of water and adding 1 cup of sugar, stirring until the sugar dissolves. Setting the mixture aside to cool, I started on the watermelon.

A couple hints for buying watermelon (which I learned the hard way from this experience):
  • Go seedless! Especially for this recipe.
  • You want there to be a yellow patch on the watermelon where it sat on the ground. My logic said "this one is completely green, that must mean it's good" No. The opposite is apparently true. Green all around = stringy bland grossness. 
  • Get a smaller size watermelon. Once cut up, watermelon somehow self multiplies and all the sudden you're completely surround by an excess amount of the stuff.
So once I got the right melon (3 trips to the grocer!!) I cut it up to wedges, or as my nephew calls it, "those triangles with the rind still on it." and then it's time for the booze. Mix 2 cups of rum for 1 cup of the syrup. I put the watermelon in large ziploc bags (made for easier cooler transit) and poured syrup mixture as evenly as possible. Let it chill in the fridge for atleast an hour.

Of course it wouldn't be a mojito without mint. Unfortunately Mojito's must have been popular for the fourth because the grocery store was all out of fresh mint. I had to buy the dry mint flakes (it did the job, but isn't recommended).  That was 1:1 ratio of dry mint flakes : Sugar (1 tbs mint flakes + 1 tbs sugar = mint sugar!). 

With fresh mint, grind mint down with a mortar and pestle (or if you'r like me, and are not that fancy, use the back of a spoon). That ratio should be 1:2 (1 tbs fresh mint + 2 tbs sugar=mint sugar). You could put the mint sugar on before serving, but the sugar dissolves into the watermelon, and you loose that cool sugar texture. I say this from experience, as that's what I did. In hind sight, I wish I had served it as something on the side to dip in right before eating.


But you know what they say about hindsight...Anyway, hope you enjoy! ....(safely!)